Generating Reports from your Research Outputs
Many academics publish their work using dynamic authoring frameworks like LaTeX or R Markdown. These can be used to generate reproducible documents with integrated R code. They are especially useful if you are outputting reports on regularly updated data.
Generating a report
In this section, you will find out how to generate a PDF report from a script that consists of LaTeX with embedded R code.
1. Creating a report script
To create a report script:

- Click the Add dropdown menu icon then select the 'New File' command, enter a filename and select 'R NoWeb file' (*.rnw) as the format.
- You will be taken to the text editor page - enter the script content here and save the file.
Alternatively, if you are just starting out with dynamic report generation, you can use this demo report script provided by Aridhia as a starting point. You will need to unzip it and upload the *.rnw file to your workspace. Then you can follow the remaining steps to learn how to generate PDF reports in the workspace.
2. Generating a report from your R script
The reports are generated using the knitr package. To create a report from a script:
- Start a new R Session by clicking on the Add tab and selecting 'R session'.
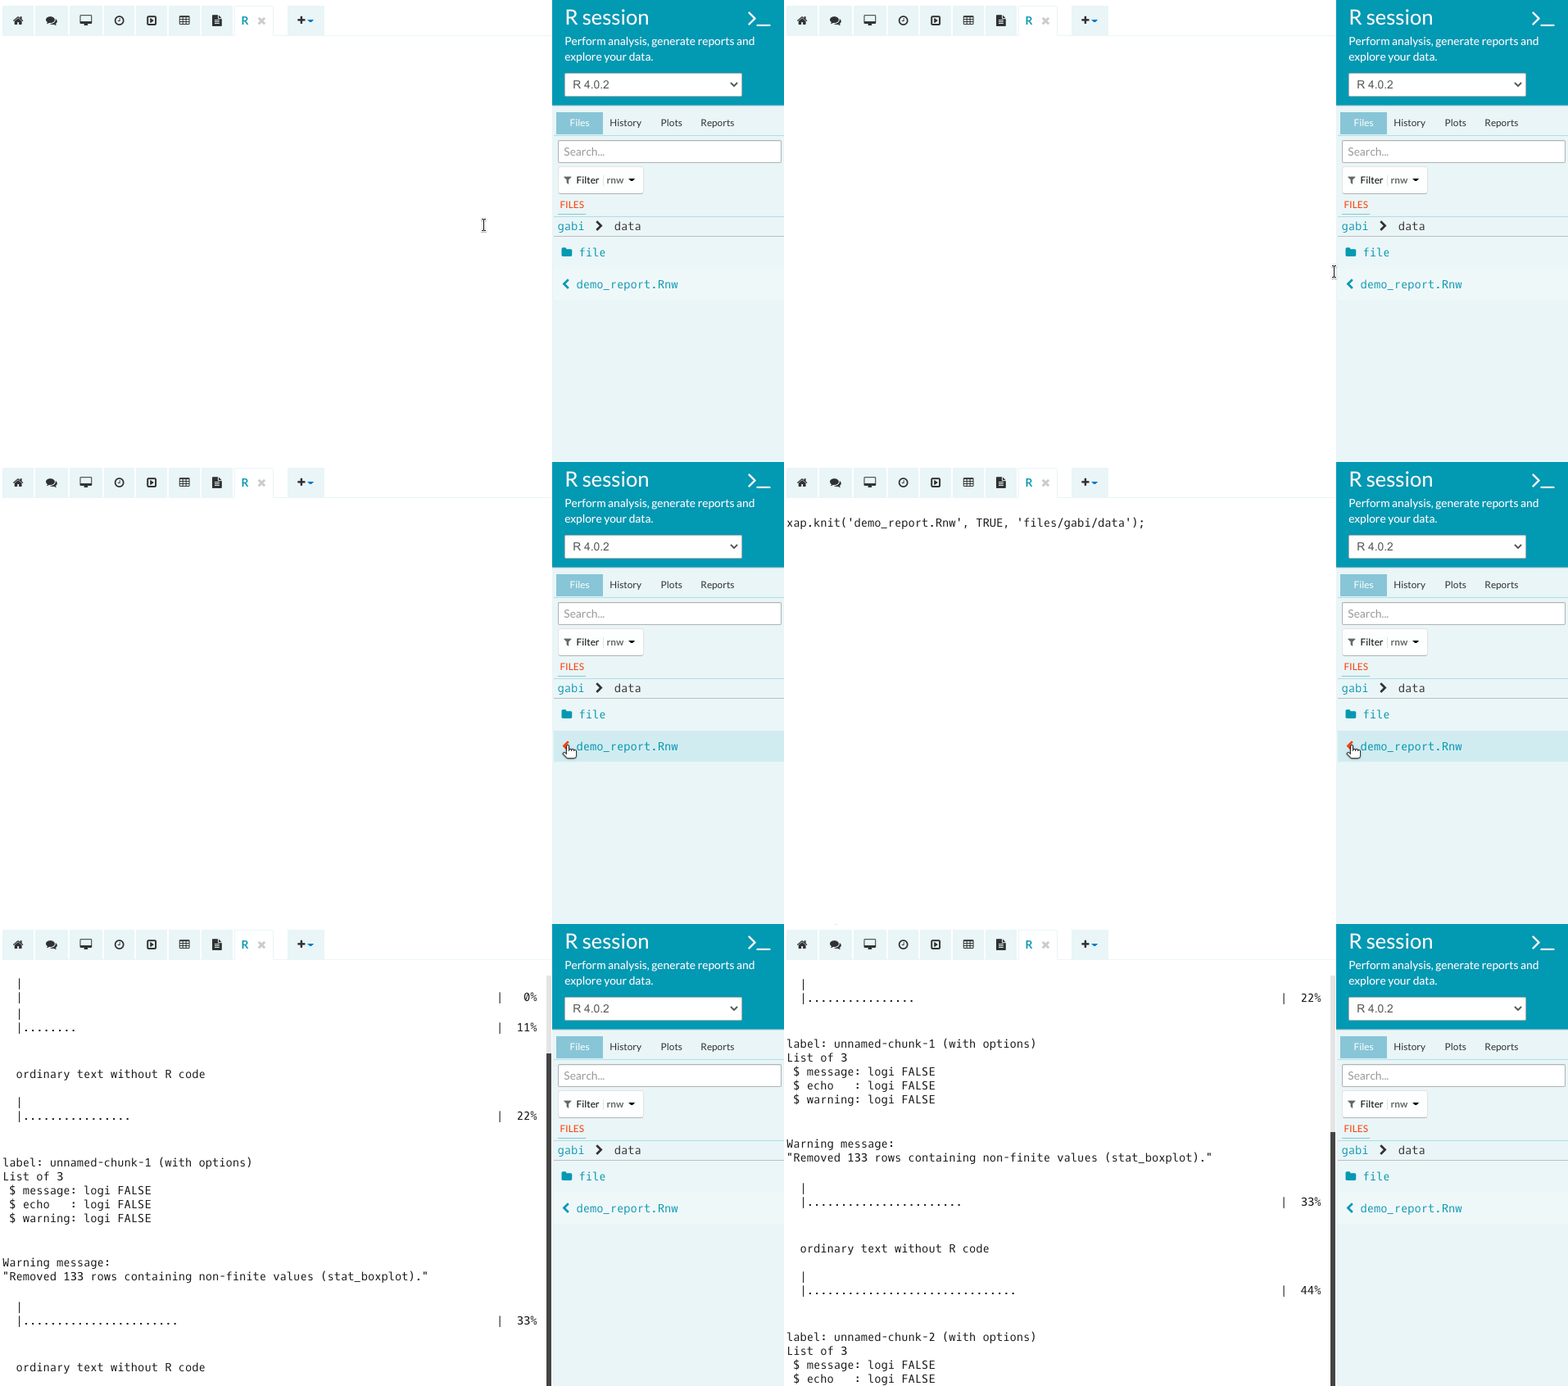
- In the right-hand sidebar, under Files, find the report script you want to run and click the 'Run in console' button.

- Alternatively, you can do this programmatically using the following function:
xap.knit('demo_report.Rnw', createpdf=TRUE, foldername='files/scripts')
3. Viewing the generated report and saving it to the workspace
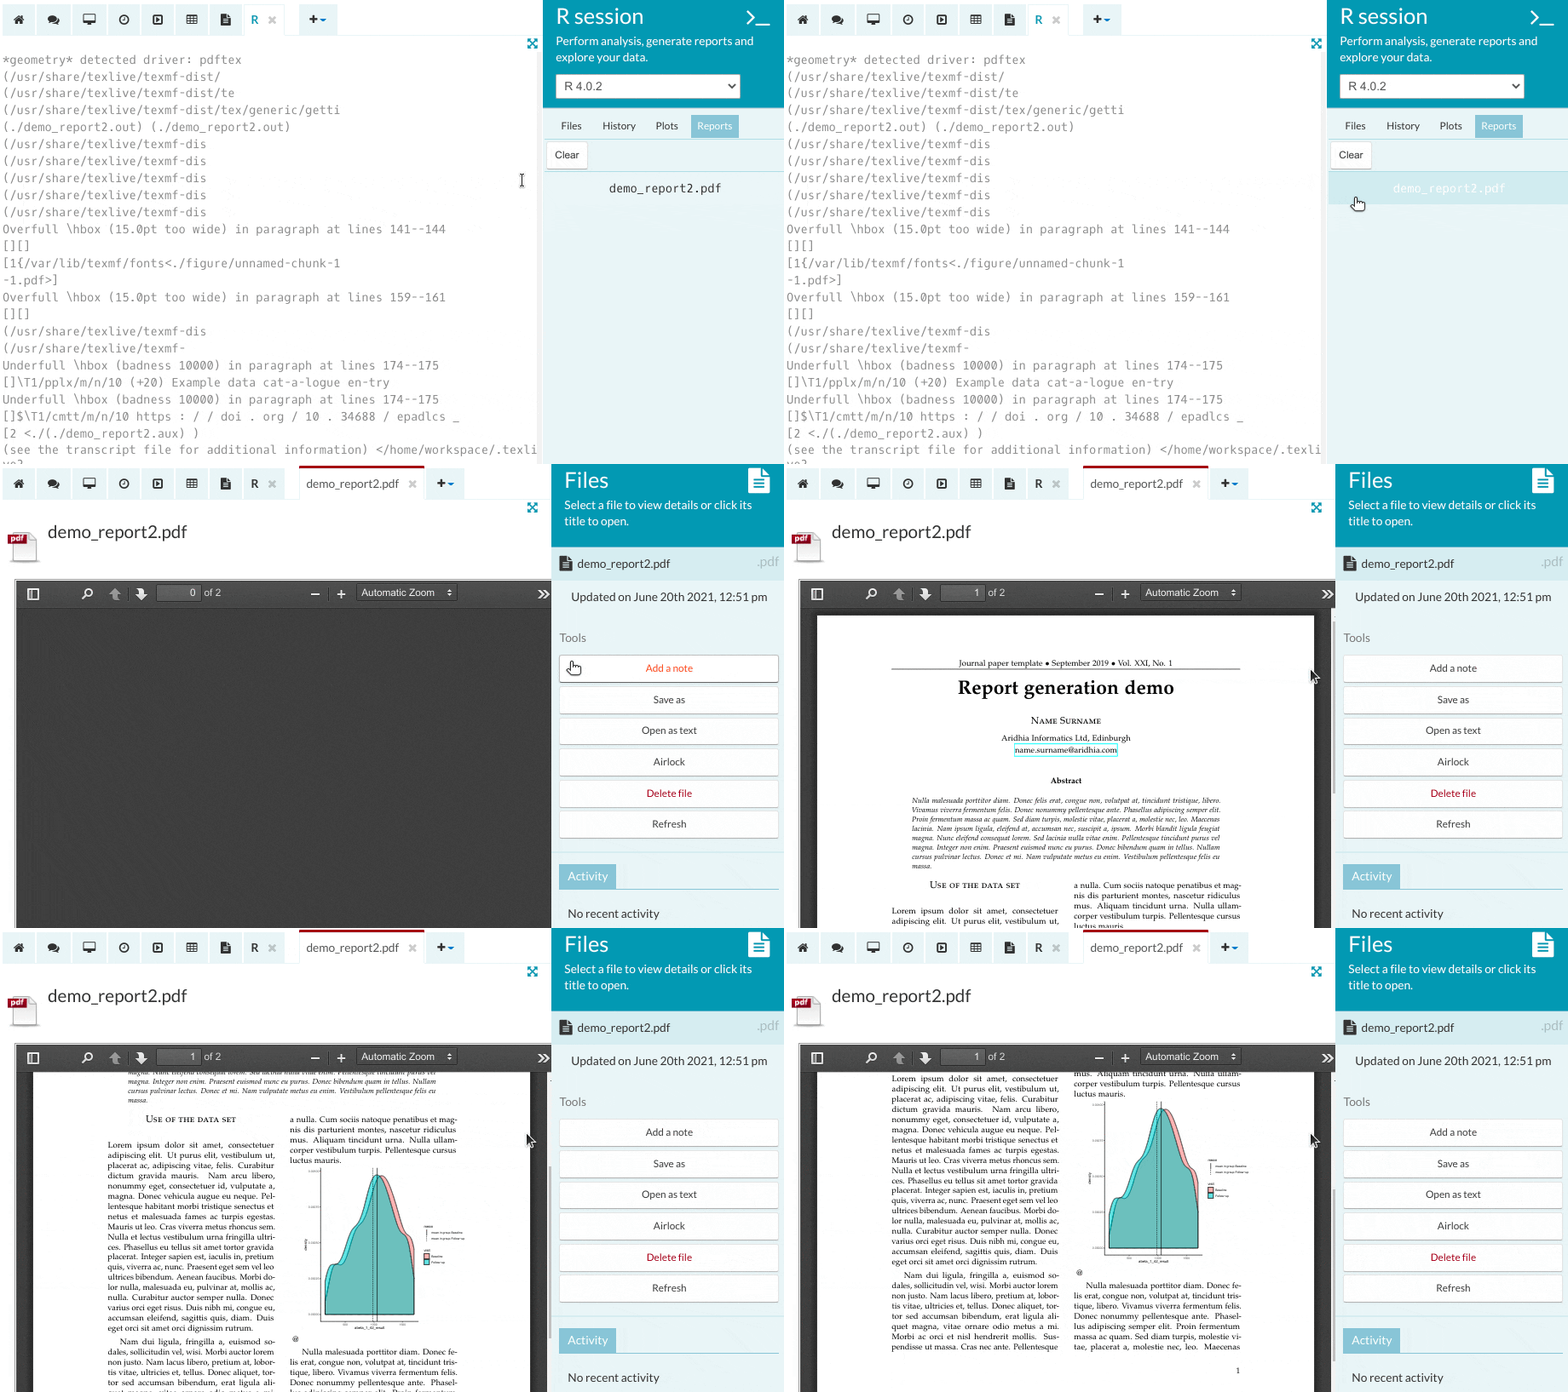
If the script runs successfully a new PDF report will be generated, with the name of the report appearing in the Reports tab in the right-hand pane. Click on the name to view it.
Please note that the report is not saved automatically. Once the report is opened, it can be easily saved using the 'Save as' button found in the right-hand sidebar.

Adding an image to your report
If you would like to include an image saved in your workspace files, you can use the xap.image function in your report. This will automatically include the required image in the generated PDF report.

