Managing Network Restrictions
Workspaces can be restricted so that they can only be accessed from particular IP addresses; this is useful if an administrator wishes to control who has access or which physical locations users can access their data from.
Adding a new Network Restriction
A new Network Restriction can be added to a workspace on its creation or any time after by using the edit function. When on the workspace Edit (or Creation) page, navigate to the Networking tab at the top of the screen.
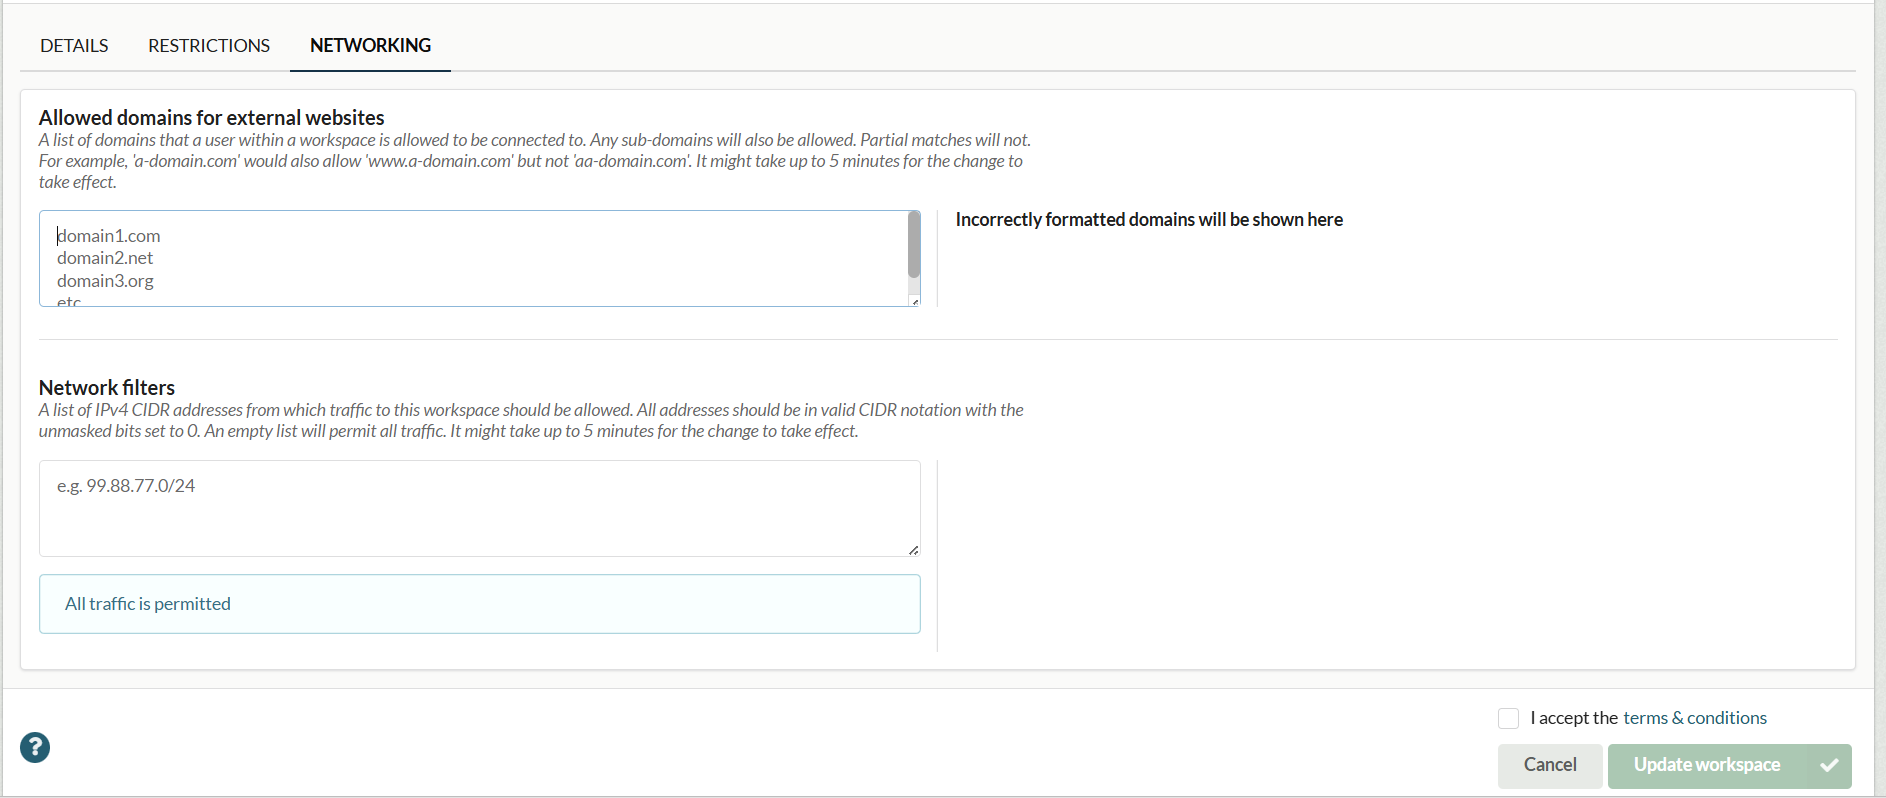
New network restrictions can then be added in the Network Filters box towards the bottom of the screen. A list of of IPv4 CIDR addresses should be specified here. Network addresses should be separated using a Return character i.e. each address on a new line. Any incorrectly formatted addresses will be highlighted to the right of the input box. If no network addresses are set, all traffic will be permitted to the Workspace via the usual security checks.
Once the addresses have been added, click to accept the t&c's and then the green "Create" or "Update" workspace button. Changes may take up to 5 minute to take effect.
Editing existing restrictions
Editing restrictions can be done by Tenant Administrators using the same method as above in conjunction with removing the restrictions which are no longer required. Again, changes may take up to 5 mins to have effect.