Installing Docker on your Virtual Machine
Docker is a tool that simplifies the process of managing application processes in containers. Containers allow you to package up an application with all of the parts it needs, such as libraries and other dependencies, and deploy it as one package.
Containers let you run your applications in resource-isolated processes, allowing them to be portable between different systems. Containers are similar to virtual machines, but containers are more portable, more resource-friendly, and are less dependent on the host operating system.
Please note that because access to the Internet on the Virtual Machines is restricted, you will not be able to push or pull images directly from the Docker Hub. However, you can do this manually (see instructions below).
Installing Docker on a Linux Virtual Machine
1. Install Docker
In your Linux Virtual Machine, open the terminal and update the existing list of packages:
sudo apt update
Next, install prerequisite packages:
sudo apt install apt-transport-https ca-certificates curl software-properties-common
Then add the GPG key for the official Docker repository:
curl -fsSL https://download.docker.com/linux/ubuntu/gpg | sudo apt-key add -
Add the Docker repository to apt sources:
sudo add-apt-repository "deb [arch=amd64] https://download.docker.com/linux/ubuntu bionic stable"
Next, update the package database with the Docker packages:
sudo apt update
Finally, install Docker:
sudo apt install docker-ce
2. Configure Docker to use a proxy
In Virtual Machines, access to the Internet is restricted, so you need to configure Docker to use a proxy.
Create a systemd drop-in directory for the docker service:
sudo mkdir /etc/systemd/system/docker.service.d
In this new directory, create proxy.conf file:
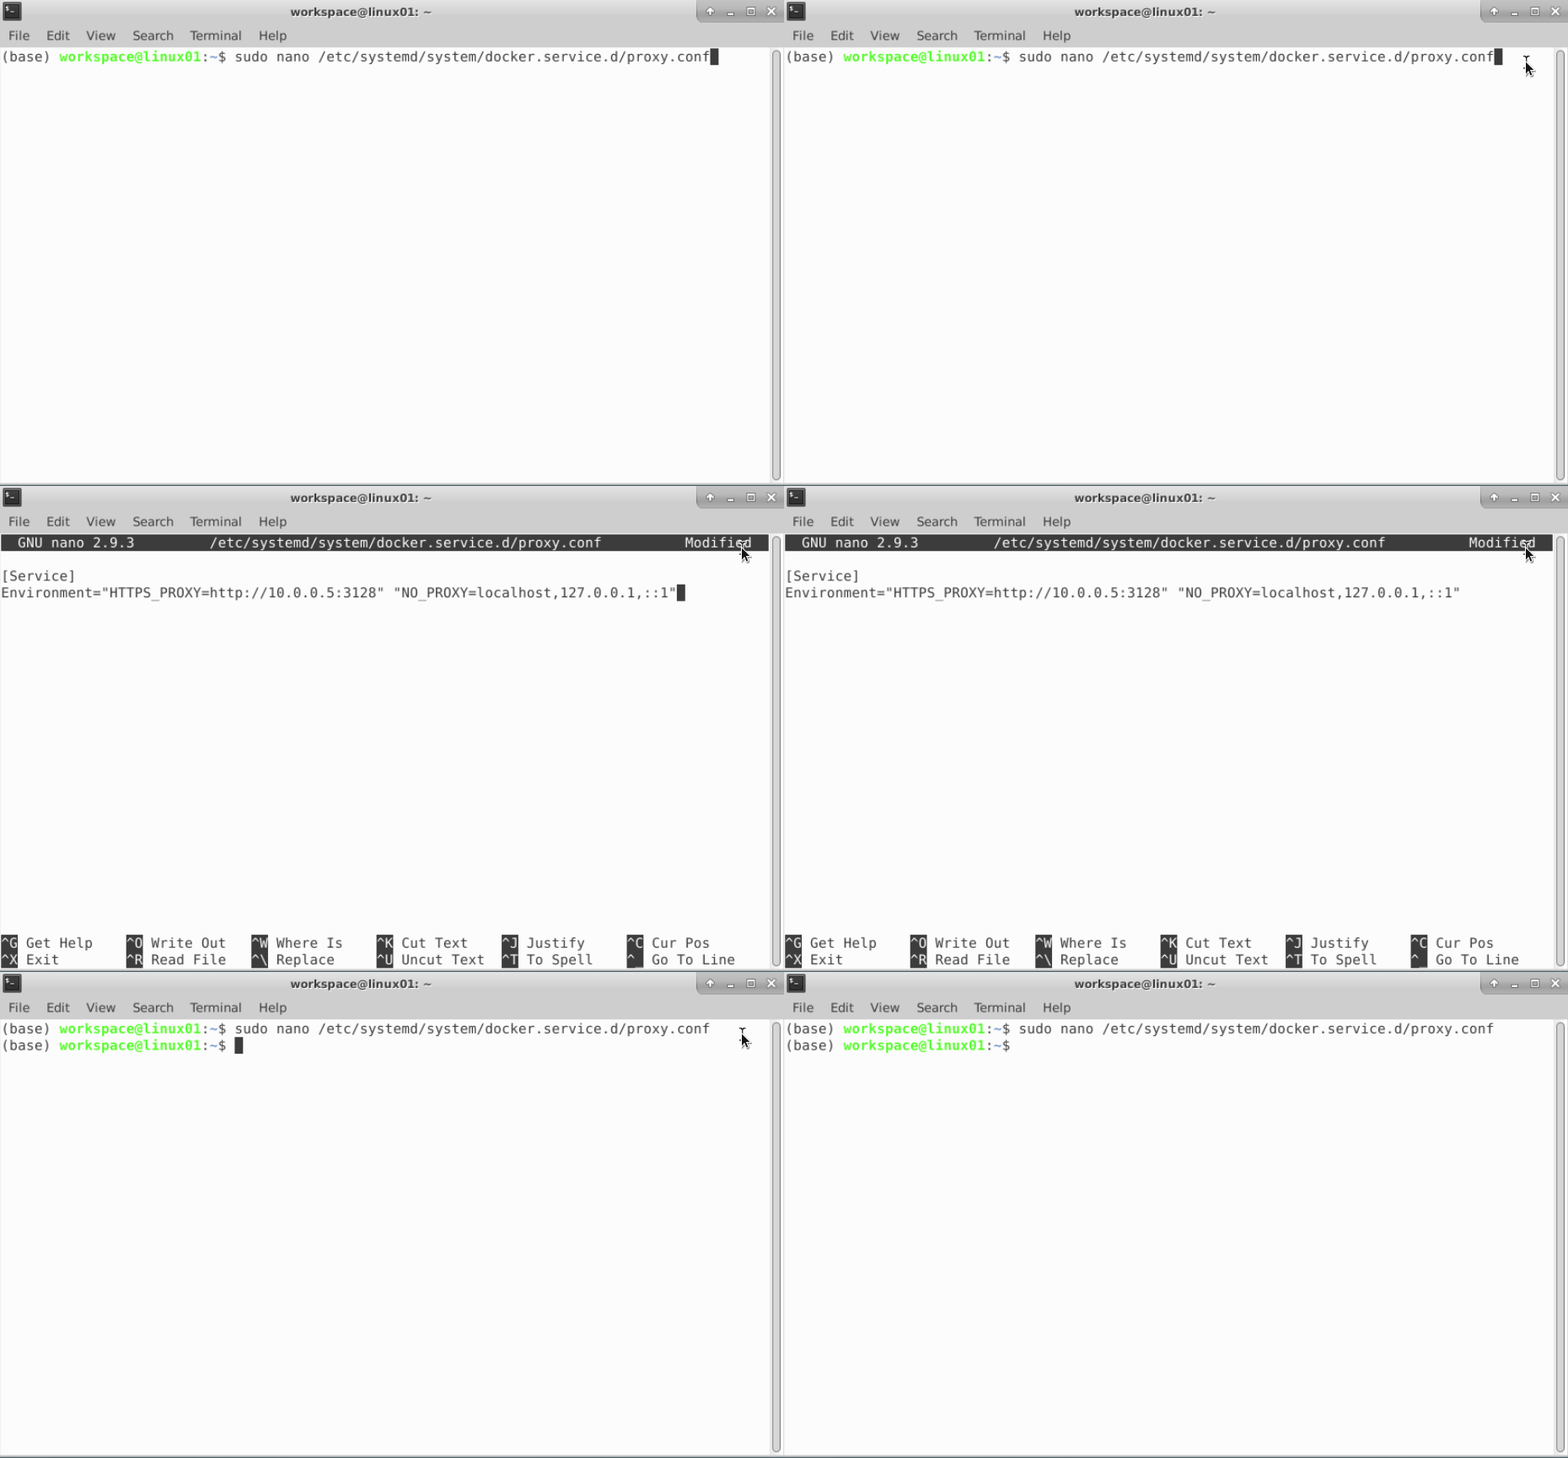
sudo nano /etc/systemd/system/docker.service.d/proxy.conf
The command will open nano editor in the terminal. Paste the following content, and then click Ctrl+S, Ctrl+X:
[Service]
Environment="HTTPS_PROXY=http://10.0.0.5:3128" "NO_PROXY=localhost,127.0.0.1,::1"
Restart the Docker service:
sudo systemctl daemon-reload
sudo systemctl restart docker
3. Use Docker without sudo
In order to avoid typing sudo whenever you run the docker command, add workspace user to the docker group:
sudo usermod -aG docker workspace
For changes to take effect, you must restart the Virtual Machine.
4. Test the installation
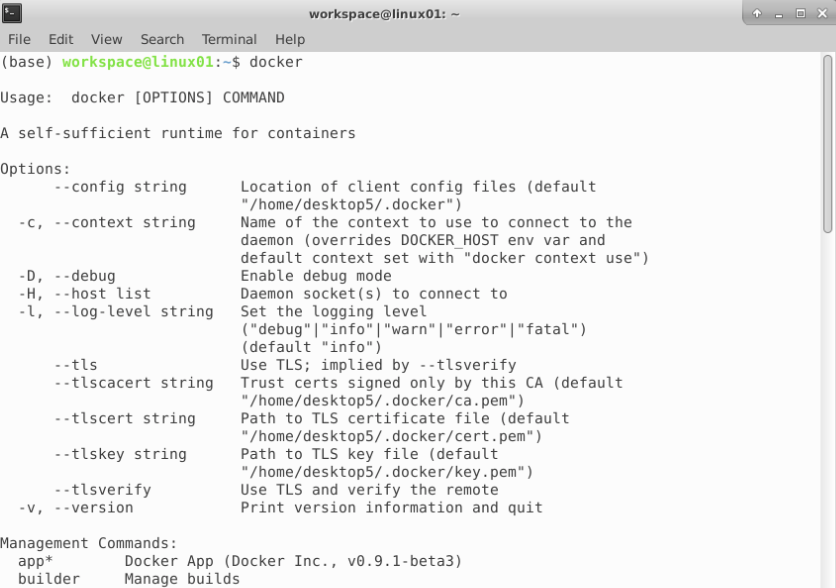
To see if the docker can be accessed from the terminal, type:
docker
This should list all the available docker commands.

5. Run a container
In order to run a container in the workspace, it is necessary to configure docker to use the proxy server. You can set these variables:
- When building the image, add the following line to the Dockerfile:
ENV HTTPS_PROXY="http://10.0.0.5:3128"
- When running the container, adding the following argument to the
docker runcommand:
-e HTTPS_PROXY="http://10.0.0.5:3128”
Pulling a docker image
For security reasons, you cannot pull an image directly from the Docker Hub on the workspace Virtual Machines as the page is not on the allowed domains list. However, you can do this manually by following the steps outlined below.
Save the image in your local computer:
docker pull <image>
docker save -o <image>.tar <image>
Next, upload the <image>.tar file to the workspace. Then, in the Virtual Machine, load the image to use it in a container:
docker load -i <image>.tar
Then, to run the container you need to specify the proxy configuration, either in the Dockerfile by adding ENV HTTPS_PROXY="http://10.0.05:3128" or in the docker run command by adding the argument -e HTTPS_PROXY="http://10.0.0.5:3128".

