Uploading files via the Workspace
Files allow users to import or create files of various types in their workspace. Files can be scripts to work with data, documents, images etc. Files can be created and accessed in the Files tab and can be any type of file, including:
- SQL (.sql)
- source code
- R files (.r)
- LaTeX markup (.rwn)
- Jupyter Notebook (.ipynb)
- archives (.zip, 7z, .gz)
- plain text (.txt)
- image files (.jpeg, .png)
- audio files (.wav)
- Word documents (.docx)
- PDF documents (.pdf)
- flat data (.csv, .xls)
Files can be both uploaded and downloaded and you can create files directly within the workspace, using the built-in editor.
To learn about file upload limitations, please consult the guidance for uploading article.
Uploading files using the web interface
When in the workspace, navigate to the Upload dropdown menu and select Upload files or data. You can either drag and drop your files into the Upload File panel or browse and select the file to upload. You can add more files by using the 'Add more' button. Select Next to select the destination.

You can now select the destination folder for your files; items can be sent to Files, Blob store or to the Inbox for review.
All of the items in the upload must be sent to the same destination folder, if you want to upload to multiple destinations, please make multiple uploads.
Click Select to check and confirm your choices.
On the confirmation page, you can double check which files you are uploading and where they're being saved to. You should also read and agree to the upload declaration on the right hand side. This will let you select the Upload button and start the upload of your items.
Alternatively, you can upload your files to your workspace Inbox where they can then be filed later. Before uploading, check the box to confirm that you are authorised to upload the data then click the ‘Upload’ button and your files will be uploaded into the selected folder.
On upload, all files go through an Inbound Airlock, where they are scanned for malware.
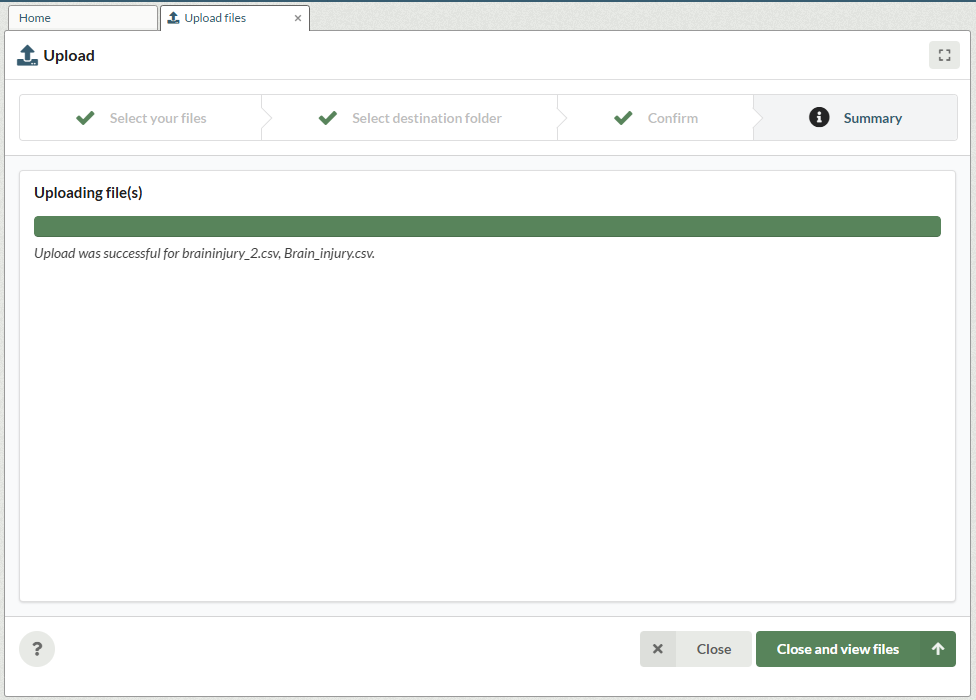
Once the files have been uploaded, you can see a summary in the tab, press 'Close' to close the upload tab or 'Close and view files' to go and review your files in their destination.