Managing Workspace Requests
When a user requests a new workspace, the Tenant Administrator will receive an email notification containing a link to the requested workspace. At this point, the workspace is not active. No workspace resources have been provisioned and no Azure cloud resources are consumed.
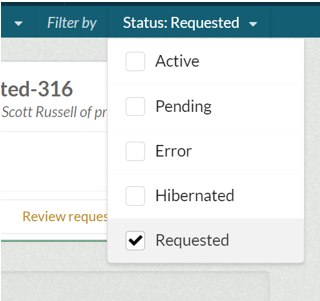
The administrator can click through on the link to log into the DRE and review the workspace request. You can also log into the workspaces TA Portal and view the list of requested workspaces by filtering the card list by ‘requested’ state.

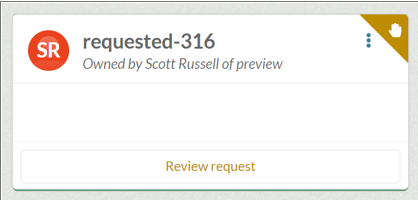
The requested workspaces will have a unique icon and ‘review request’ call to action button.

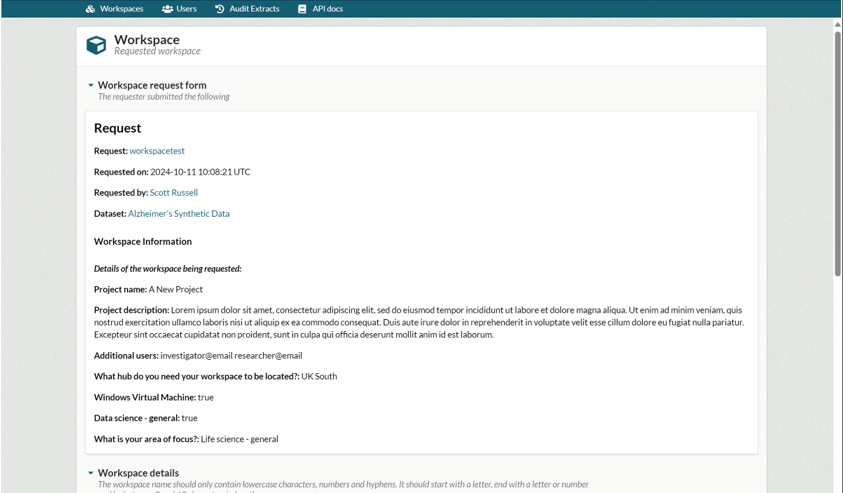
Clicking ‘Review Request’ will open the **workspace edit **view to allow the administrator to approve or reject the workspace. At the top of the workspace edit view is a collapsible accordion section containing the contents of the workspace request form as completed by the requesting user.

Each requested workspace is given a numbered name of ‘request-x’, in the example above the workspace has been automatically named ‘request-316’. It is encouraged that the administrator take this opportunity to rename the workspace using the Workspace details accordion.
Users, restrictions and allow list configuration can be changed as normal here. While the workspace does not yet exist, the meta-data associated with that workspace can be changed. Please note, that there must be an Owner role for workspace creation. The owner can only be changed after the workspace has been created. At this stage, the administrator can either ‘approve’ or ‘reject’ the workspace.

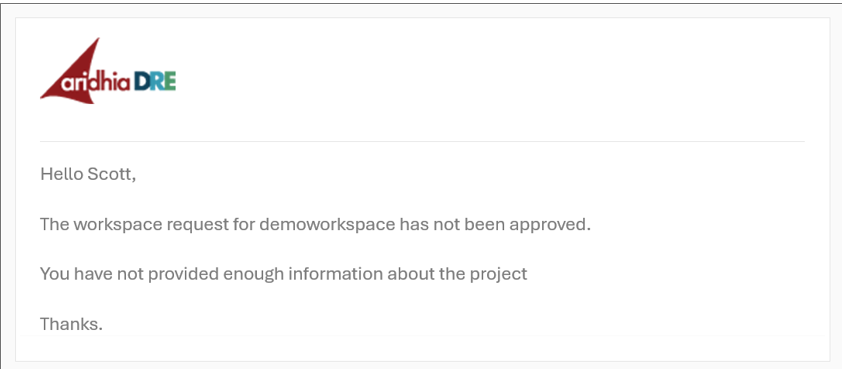
On approval, the workspace provisioning pipeline will run. The user will be notified that their workspace has been approved. There is normally a short delay of around 5 minutes before the workspace is available for use. If rejected, you will be prompted to provide a reason. The requestor will be informed via email that their workspace was rejected and the reason.

