Installing Anaconda and running Jupyter Notebooks on your Virtual Machine
Anaconda is an open-source package manager, environment manager, and distribution of the Python and R programming languages. Anaconda is widely used for scientific computing, data science and machine learning workflows.
If you are looking to install Python, we recommend using Anaconda Python distribution as it is a ready-made and up-to-date package for working with Python. The base package contains libraries used for data science including those necessary for running Jupyter Lab and Jupyter Notebook. Anaconda also provides a mechanism for managing distinct environments that capture library dependencies.
This article will guide you through installing Anaconda on your Virtual Machine in the Aridhia DRE Workspace, and then running Jupyter Notebooks. Please note that Jupyter Notebook is also available as a Built-in App in your workspace and comes pre-installed in a Data Science Virtual Machine
Instructions for Linux
1. Download Anaconda
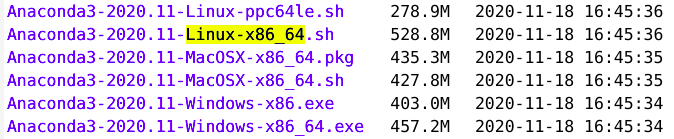
From the web browser, go to the Anaconda Archive, then looking at the 'Last Modified' column scroll down to find the latest Anaconda3 distribution, which should look something like Anaconda3-2020.11. Copy the link of the Linux installer (64-Bit x86 version).

In your Virtual Machine, open the terminal, move into the tmp folder, and then use the copied link to download the latest Anaconda distribution:
cd /tmp
curl -O https://repo.anaconda.com/archive/Anaconda3-2020.11-Linux-x86_64.sh
2. Verify Anaconda download
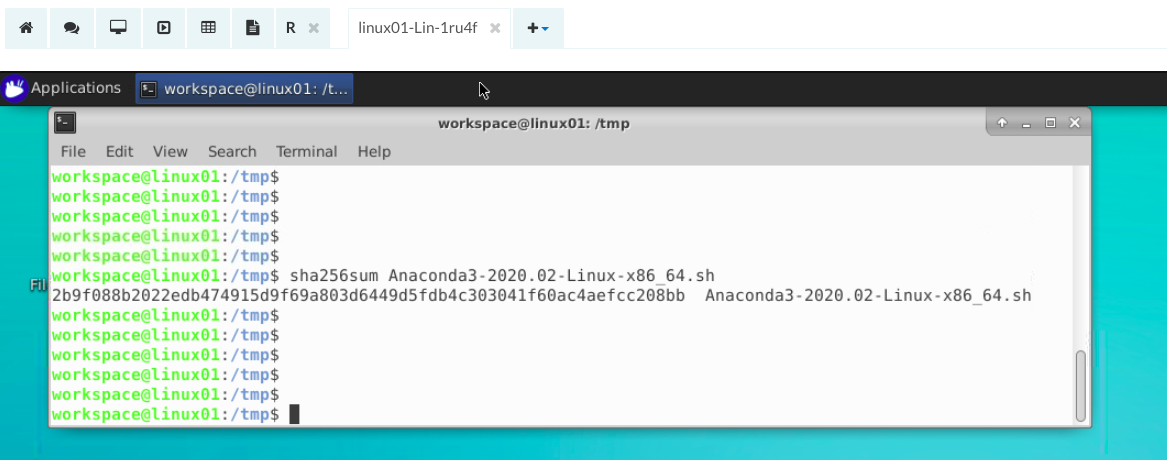
Use the command below to verify the downloaded data integrity.
sha256sum Anaconda3-2020.11-Linux-x86_64.sh
The command should print out a single line that looks like the screenshot below.
3. Install Anaconda
sudo mkdir /opt/tmpconda
sudo chown -R workspace:workspace /opt/tmpconda
sudo TMPDIR=/opt/tmpconda bash Anaconda3-2020.11-Linux-x86_64.sh
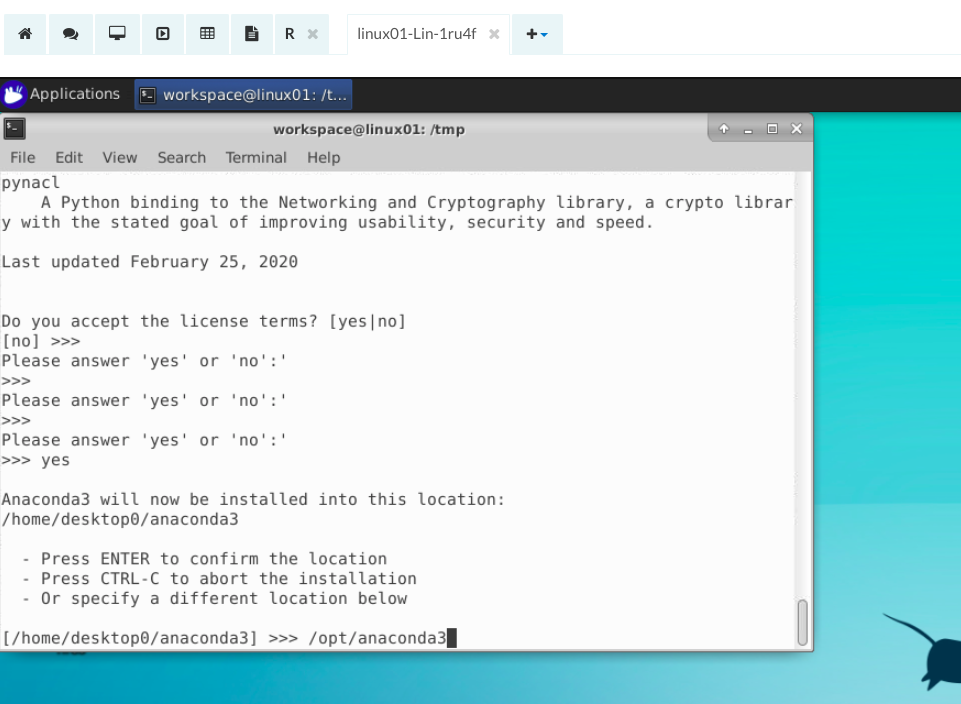
- You will need to press Enter to scroll down to the bottom of the license agreement.
- Type
yesto accept the license terms and conditions - The installer will ask if you want to accept the default installation location: do NOT accept it, instead, set it to
/opt/anaconda3 - At the end, type
noto NOT initialize Anaconda3 at this time.
4. Initialise Anaconda
Initialise Anaconda for your Virtual Machine user:
sudo chown -R workspace:workspace /opt/anaconda3
/opt/anaconda3/bin/conda init
To create your own environments, you need to have write access to .conda folder, so you need to change the folder ownership by running this command:
sudo chown -R workspace:workspace ~/.conda
5. Check Anaconda installation
Exit the terminal and open a new one. If all went well, you should see your terminal prompt prefixed by a (base) label, which indicates you are in Conda's base environment.

Now you can test the installation:
which python
> /usr/bin/python
python --version
>Python 3.7.4
6. Running Jupyter Notebook
Once Anaconda is installed, you can simply open the Jupyter Notebook by running:
jupyter notebook
Instructions for Windows
1. Download Anaconda installer
From the web browser, go to the Anaconda Archive, then looking at the 'Last Modified' column scroll down to find the latest Anaconda3 distribution.
Click to download the 64-Bit Windows installer. The release name should be something like Anaconda3-2020.11-Windows-x86_64.exe.

2. Install Anaconda
Navigate to the Downloads folder, and double click on the Anaconda3 executable. Follow the instructions to complete the installation
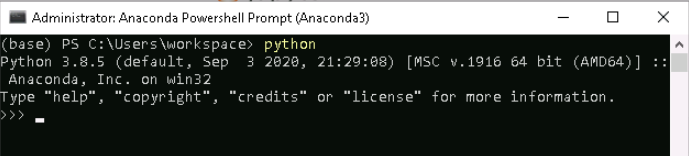
3. Open the Anaconda Prompt
Once the installation is complete, go to the Start menu and select the Anaconda Prompt. This should open the command-line shell.
See which version of Python you are running:
python