Creating a new Dataset
Users can create a new dataset by selecting 'New dataset' from the 'Datasets' drop down:

This will launch the dataset creation wizard, which steps the user through the dataset creation process in the following order
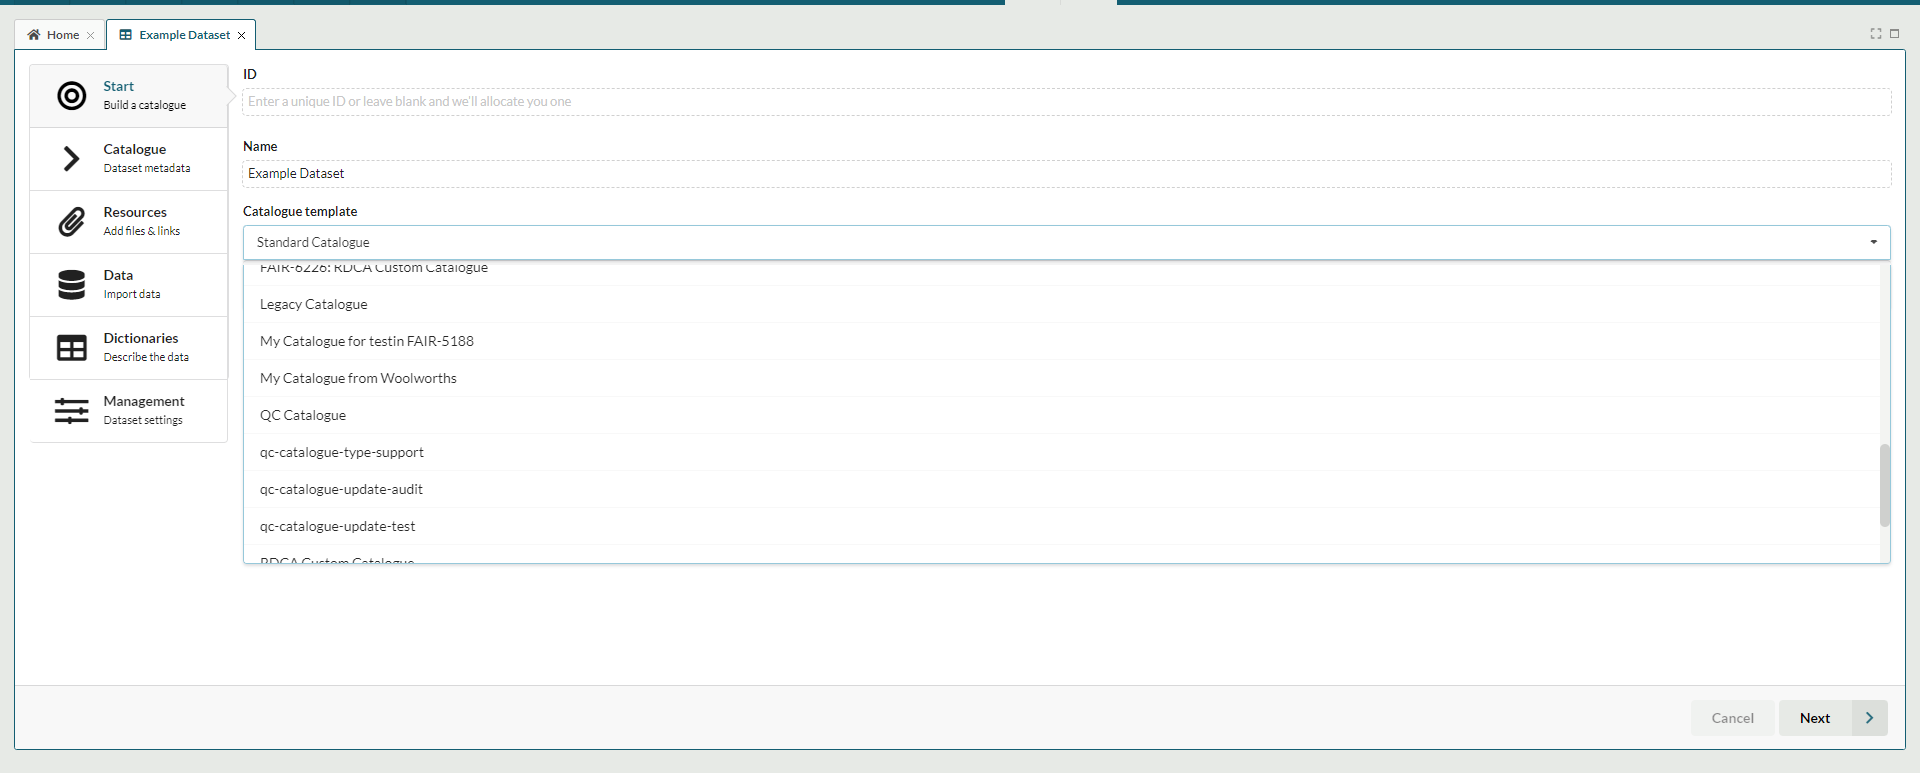
1. Name and Catalogue Selection
The first section requires users to name the dataset and choose a catalogue template:
2. Catalogue Entry
Users are then required to complete the catalogue entry for the dataset:
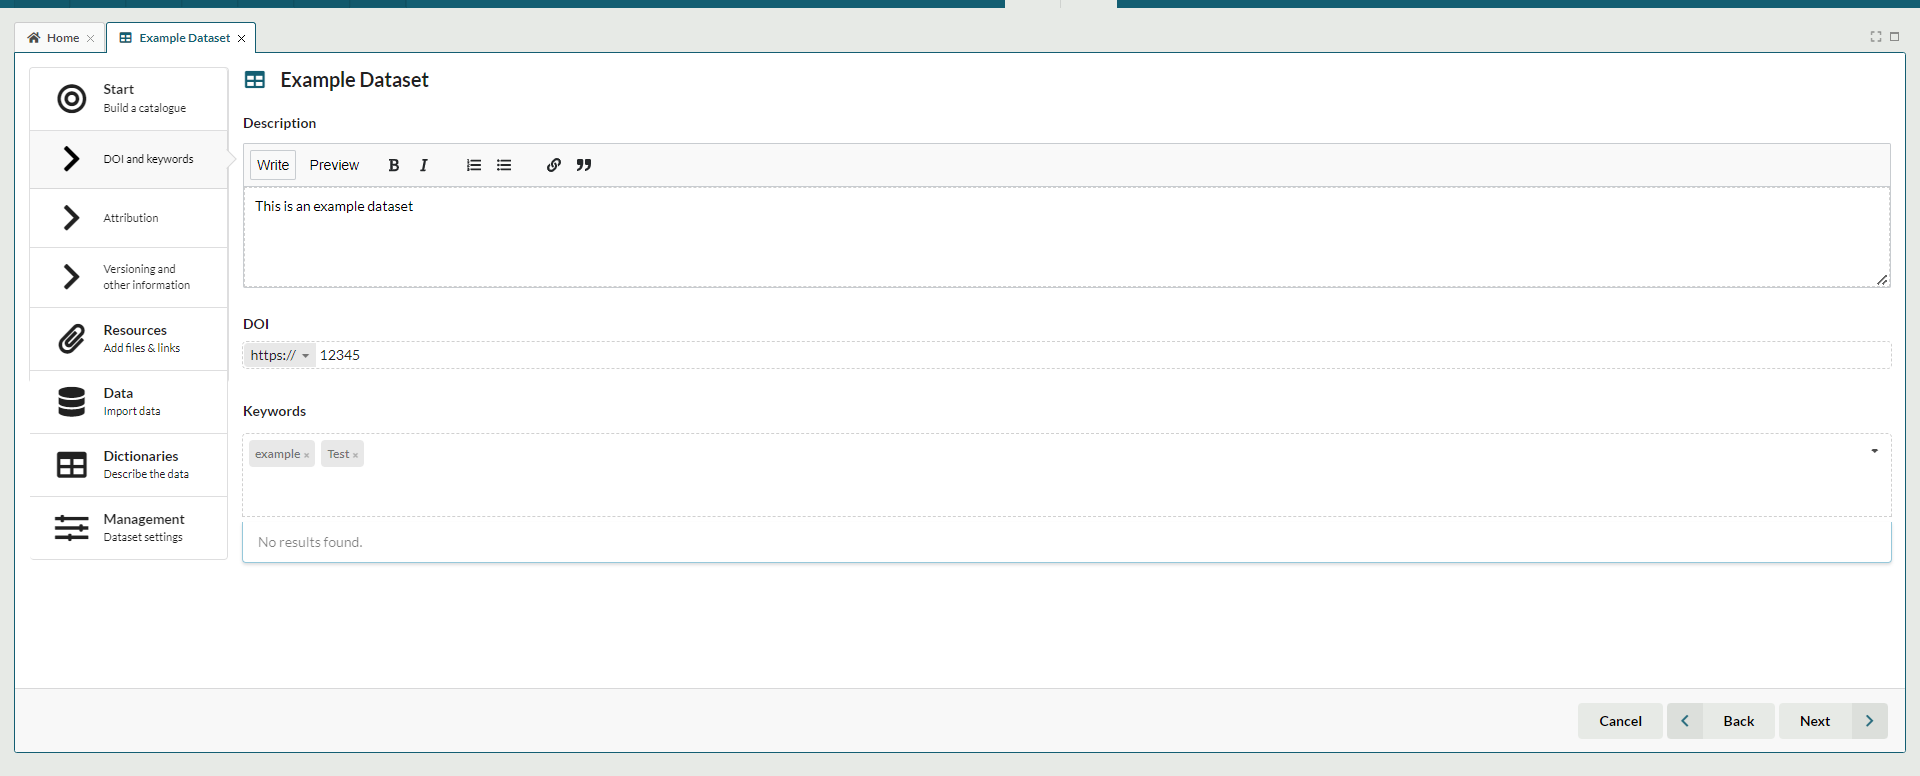
The number of catalogue sections and fields will vary depending on the catalogue template chosen in the previous section. When the user has completed the catalogue section they are prompted to save the dataset before continuing:

This step creates the dataset, and the user can resume editing at a later time if required.
3. Add attachments and data files
This step allows the data owner to add data files and attachments to the dataset.
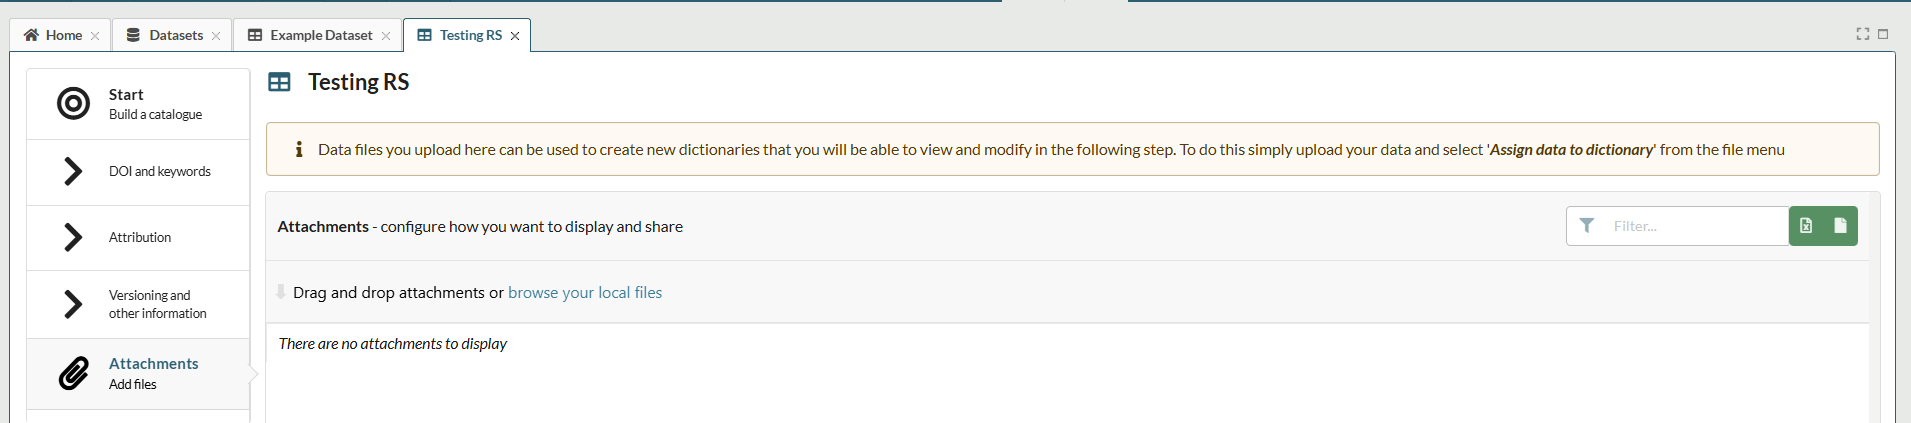
Attachments
Data owners can attach files to their dataset, which can then either be made available for download or for transfer to a workspace as part of a data access request.
The data owner can manage the visibility and availability of these files, by default all files are not visible to users and not available for transfer.
Data files
Where data is being hosted in FAIR the data owner should also add the datafiles at this step. Data needs to be uploaded as a .csv file.
Once the data file is uploaded the user can choose to create the dictionary for the file automatically
If they do not wish to do this they can continue to the next step and create the dictionaries manually.
4. Dictionaries
If the user chose to create the dictionaries automatically on the previous step, they will be presented here for editing:

If the user did not choose to automatically create dictionaries at step four, they can create them at this stage and map them to the associated data files later.
5. Management
The final section allows users to manage the dataset settings:
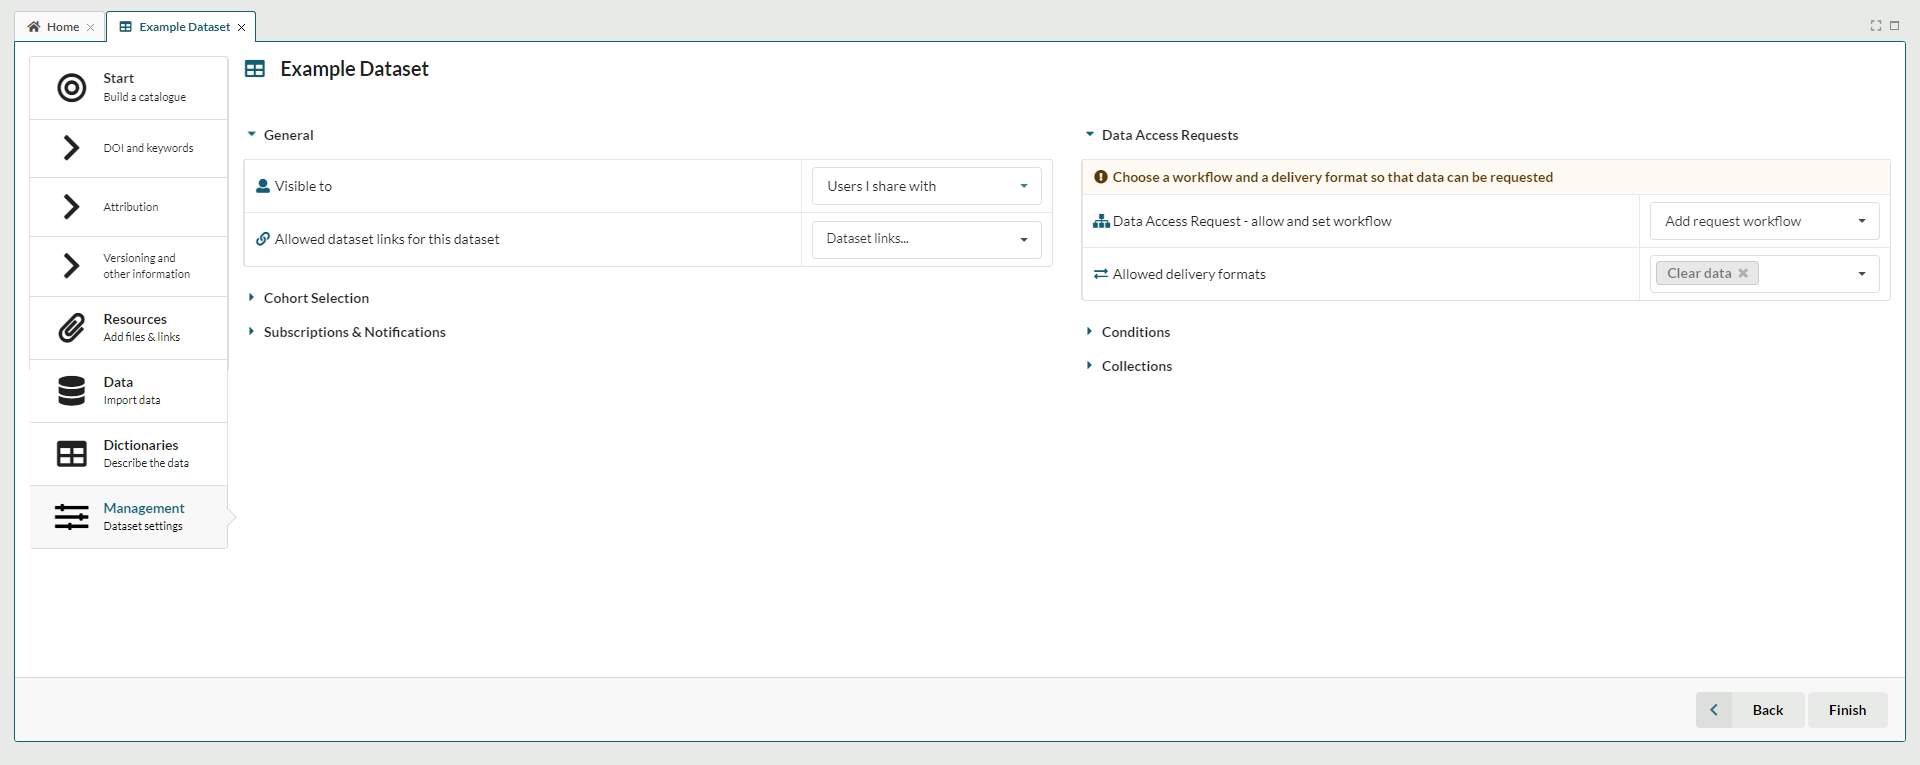
This covers dataset sharing and visibility settings, usage conditions, DAR settings and cohort settings. These can be changed after dataset creation on the dataset administration tab
Advanced Mode and Preview
When creating a dataset via the wizard, users have two further options:
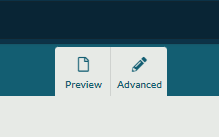
- Preview- allows the user creating the dataset to view a preview of how the dataset will be displayed to a standard user
- Advanced- allows users who do not want to use the dataset wizard to toggle to single tab edit mode
Duplicating dataset metadata
Alternatviely, data owners can also duplicate the metadata of an existing dataset that they own. Instructions on how to do this can be found here.