Adding Timebound Restrictions
Timebound Restrictions allow access to a workspace to be controlled and limited for a duration of time. Administrators can select end date using a calendar and workspace users will not be able to enter the workspace once this end date has passed.
Administrators and workspace members will receive emails seven days prior to expiry.
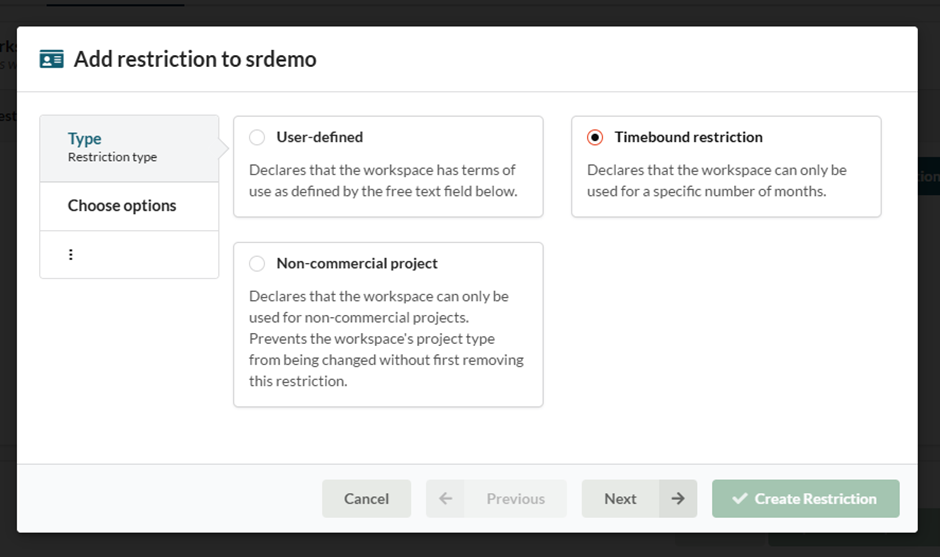
To add the restriction, use the ‘edit workspace’ option and navigate to the ‘RESTRICTIONS’ tab and click ‘Add Restriction’.
Choose ‘Timebound restriction’ and click ‘Next’
Select ‘Add expiration date’.
Then use the calendar to select an expiration date.
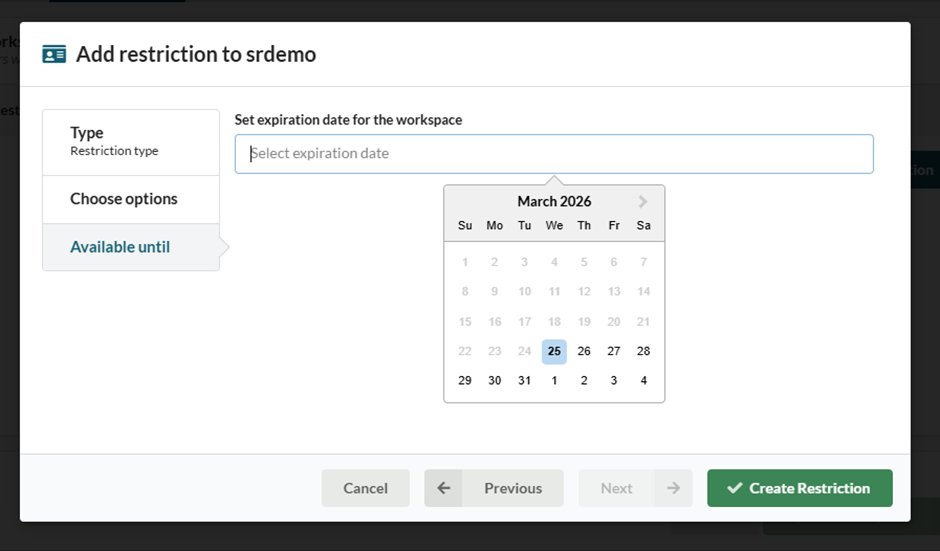
Then click ‘Create Restriction’.
Extending a Timebound Restriction
Acceptance of restrictions are audited and, as a result, once a restriction is accepted by members of the workspace, it cannot be edited. However, should a time extension be required and agreed upon, this can be achieved by deleting the existing restriction and creating a new timebound restriction with a new expiry date.