How to upload your Web App
Uploading your Web App
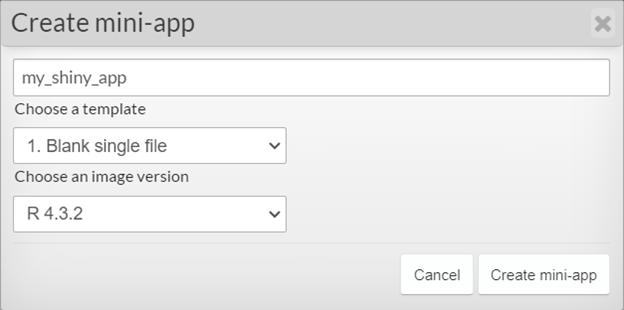
To upload your own Web App to a workspace, first, create a new Web App using the App dropdown menu. Then, you will be asked to name the Web App and choose a blank template. The template you choose will depend on whether you are using multiple files (server.R + ui.R) or a single file (app.R) in your application.

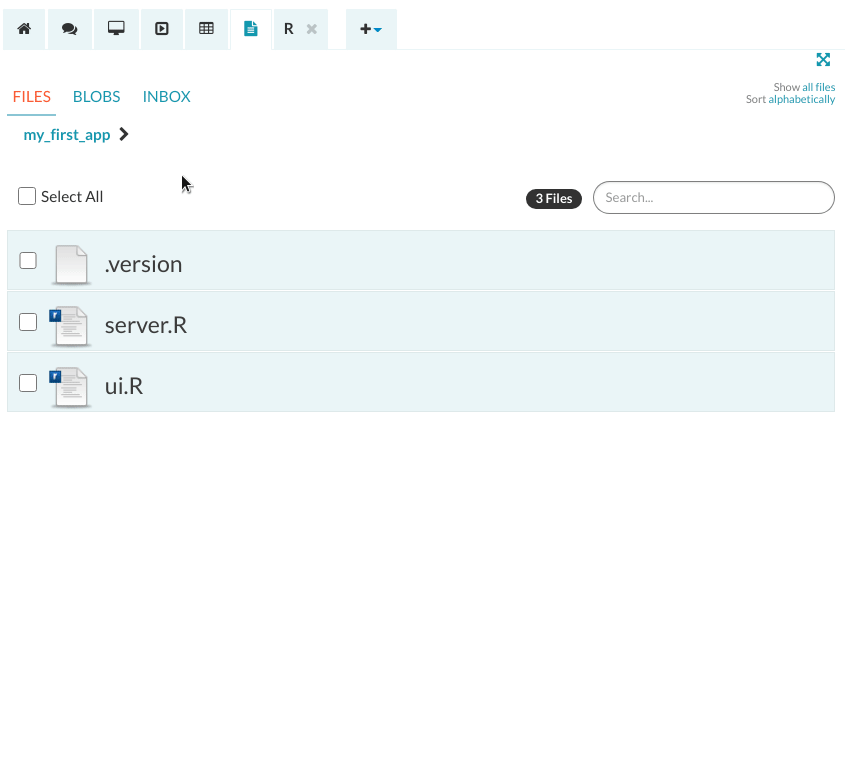
Once you created a blank template, navigate to the Web App folder in the Files tab, and paste your code into the appropriate files. Note that any libraries that the Web App uses will need to be installed in the workspace R Console.
If your Web App contains files not included in the template, these can be uploaded directly into your application's folder. Once you are finished editing the source code, you can open your App in the Web App tab (you may need to refresh it for the changes to take effect).
For information on how to import data, how to change the tile image or R version that Web App is running, see customising your Web App article.
Deploying Aridhia's Web Apps to a workspace
Aridhia's Web Apps can be found on aridhia.shinyWapps.io/menu/. From the homepage, you have the option of running the Web App on the web or visiting their GitHub repositories from where you can download the App source code for running it locally or in a workspace.

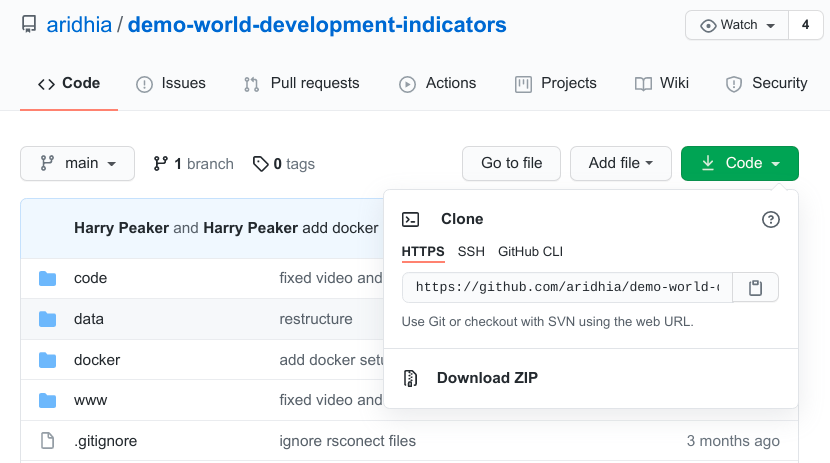
1. Download the App source code
To deploy Aridhia's Web App to a workspace, first, you need to navigate to its GitHub repository and download the Web App repository as a ZIP file.
2. Create a new Web App from a template
Move to the workspace, go to ‘Apps’ > ‘+ New Web app’, and create a new blank Web App using the drop-down menu. Choose a name for the new Web App.
This will create a new folder in the Files tab with the same name as the new Web App. Look for this folder (which we from now on will refer to as “the Web App folder”) and delete the app.R file in it. Make sure you keep the .version file!
3. Upload the code to a workspace
Then, upload the ZIP file you downloaded to the Web App folder.Unzip the file using the option on the right-hand menu.
When unzipping in the workspace, you will be asked to give a name to the folder the files will be extracted into. Leave this blank.

Navigate into the unzipped folder, select all files in it, and move them to the Web App folder (so, one level up). Delete the now empty unzipped folder.
4. Install App dependencies
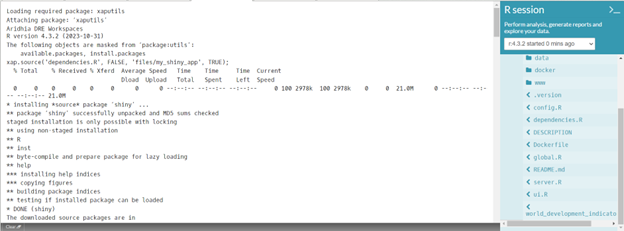
Go to 'Tools' > 'New R console' and start the R console. In the right-hand side-panel, navigate to the dependencies.R script, and click on the arrow next to it. This will install all the packages needed for the Web App.
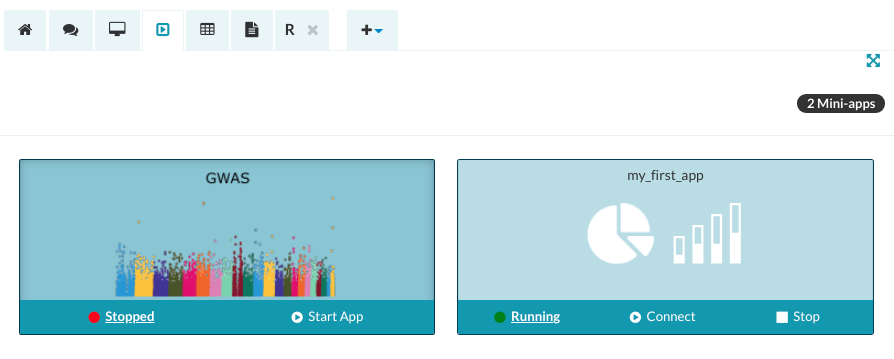
5. Run the Web App
Go to ‘Apps’ > ‘View Web apps’ and start the new Web App.
You will see that the App code appears as a default when you start the Web App. If you want to hide the code, go to the Web App folder and delete the file called DESCRIPTION.